

How to Clean a Pistol
What Is The First Step In Cleaning A Firearm?
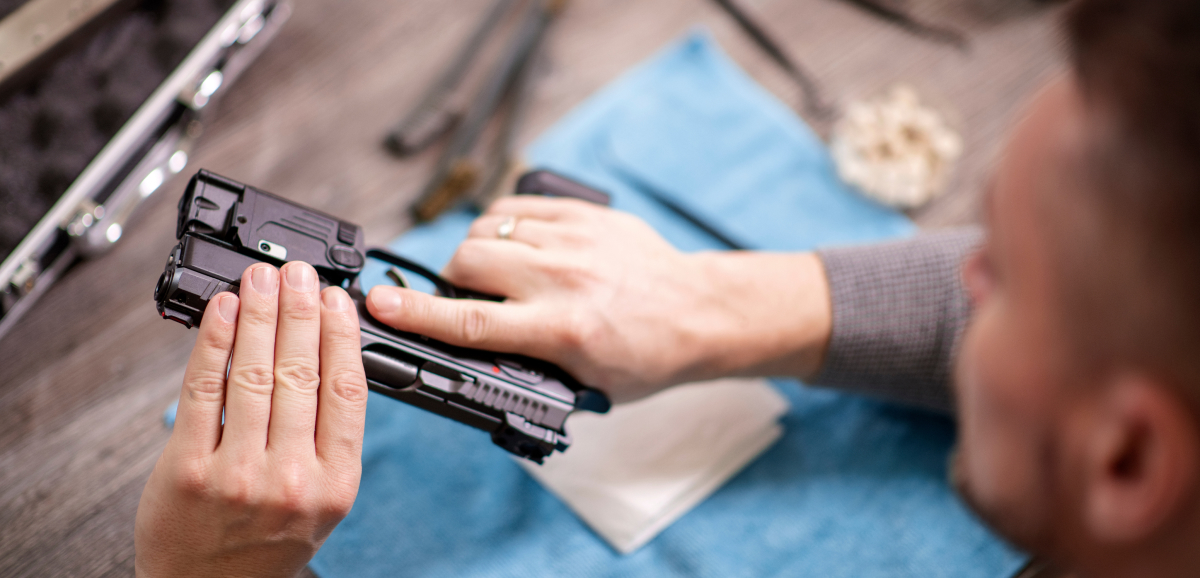
Most of us know that the “name of the game” with all gun handling is always “safety first”. Even as you are disassembling your firearm, always treat it as if it is loaded. The clearing and cleaning process is best done in a room by yourself to remove the possibility of both collateral damage to life and external interference.
To make sure your pistol is not live and ready to be cleaned:
- First, keep your finger OFF the trigger during the unloading and cleaning process.
- Then, eject the magazine.
- Next, work the slide backwards to eject any rounds that may be in the chamber. (most firearms will fire even if the magazine is not inserted into the gun).
- Finally, pull the slide back and check to make sure there are no rounds in the chamber.
Disassemble the Pistol
Now that you have taken time to clear the room of distractions and the gun of ammunition, you are ready to disassemble your pistol.
Disassembling your firearm fully will allow you to reach those nooks and crannies for a better cleaning process. Every gun is a little different to take a part, so have the manual for your pistol model handy to consult in case you hit a snag.
Using a Smith and Wesson M&P 9 as an example pistol, here are steps for disassembly:
- Once the gun has been cleared, push the disassembly lever downwards to a vertical position. This allows you to take the slide off the frame.
- Then, pull back on the slide, which will unlock it. Push it back forward and point the pistol in a safe direction and pull the trigger. This will release the slide, which you can set aside.
- Remove the guide rod and the recoil spring by pushing down on the guide rod and lifting it up out of the weapon.
- Remove the barrel by pushing up on it–then set it aside.

Gather Your Gun Cleaning Kit
When it comes to choosing the right pistol cleaning kit, the options are almost endless. If you prefer to have an all-in-one option, the Kleen-Bore Multi-Handgun Cleaning Kit might work best for you. You can use it for multiple ammo types (.357 / .38 / 9mm - .40/ 10mm - .45) and it comes with three (3) cotton bore mops as well as Kleen’s No. 10 CLP gun cleaning solvent.
If you prefer to assemble your own gun cleaning kit, many gun enthusiasts swear that adding Hoppes Black Copper Cleaner 4OZ is an absolute must. Designed to remove high levels of copper, this cleaner is engineered for modern firearms and safe to use on any bore.
Scrub-A-Dub-Dub
Once you’ve got your pistol cleaning kit ready to go, here are the major areas you’ll want to be sure to touch on:
- Apply your cleaning mixture/solvent to a rag or cotton pad and run it over and through all metal surfaces.
- Once you have fully scrubbed down the pistol, you can then wipe off all the gunk left behind after scrubbing with a clean rag. If you are finding it hard to reach the tight spaces, your cleaning kit should come with some special tools to get into those areas (though many people also simply use cotton swabs).
- Clean the barrel by applying your cleaning solution to the bore brush and running it back and forth through the barrel. After that, switch tips on the pole, and run a clean patch through the barrel again. If your gun cleaning solvent does not already include a preservative element, a light coating of oil down the barrel can help keep it in tip-top shape.

Reassemble
Remember when you used to have to rewind VHS tapes before returning them to Blockbuster? (And/or how you wanted to give the WWE “chair” treatment to the last person who rented Terminator and didn’t bother?)
Well, “Be Kind–Rewind!” applies to pistol reassembly as well. Put your pistol back together in exactly the reverse order you took it apart. This reduces the likelihood of you forgetting an important piece or having trouble making a part fit.
So in the case of the Smith and Wesson M&P 9, it would look like this:
- Insert the barrel into the slide, and pull it back into position.
- Insert the guide rod and recoil spring into the frame–painted end first–then press the spring back into position. You should hear a ‘click’ if it is set correctly. Make sure this piece is straight and not crooked.
- To put the slide back on the frame, make sure you line the slide up with the rails and proceed to slide it all the way back. Then push up on the slide lock and make sure it is horizontal with the frame.
- Pull back on the slide to release the slide lock and allow it to go into its normal position.
- WHILE FINGER IS OFF THE TRIGGER, function check the weapon. Start with the slide, then point the weapon in a safe direction and pull the trigger. If all is well up to this point, double-check that the magazine is EMPTY and insert.
Enjoy, Then “Rinse-and-Repeat” As Necessary
Now that your pistol has been disassembled, cleaned and fully re-assembled, simply reload, and you’re ready to go.
For all your cleaning, firing, carrying, and “upgrading” needs, we’ve got the accessories and ammo to help you slay range day–only at Ammo Planet.
More 2A News

The Defender’s Arsenal: Choosing the Perfect Shotgun for Self-Defense
Discover the key factors to consider when buying a shotgun for home defense, ensuring optimal safety and effectiveness in safeguarding your home and loved ones.
Read More
Choosing the Best 9mm Target Ammo
Discover the key factors and considerations for choosing the best 9mm target ammunition to enhance your shooting experience and accuracy on the range. Unlock accuracy, affordability, and more.
Read More
Meet 2023’s Newest Lever-Action Rifle: the Bond Arms LVRB
Discover the revolutionary Bond Arms LVRB, 2023's newest lever action rifle that combines classic appeal with adapatbility and modern innovations.
Read More